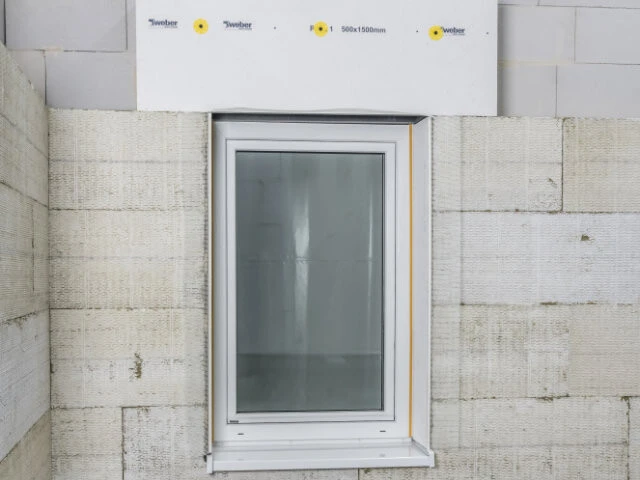
Ready-to-use reveal insulation boards with weber.projekt Leibungsplatten

Assembly of reveal boards

  1. The reveal insulation boards weber.projekt Leibungsplatten can be installed quickly and easily as pre-coated prefabricated reveals.

  2. First, the window connection profile weber.projekt Fensteranschlussprofil is glued plumb onto the cleaned window frame.

  3. The reveal depth is measured - if possible, at several points at the top and bottom.

  4. The pre-said board is shortened to the determined reveal depth.

  5. The joint sealing tape weber.therm Fugendichtband is laid on the edge profile of the installed window sill.

  6. Cover the board edge with an appropriate weber.therm bonding mortar.

  7. The mortar is also applied to the backside of the board weber.projekt Leibungsplatte.

    (Good to see here: the integrated plaster edge with fabric flap for secure integration of the reveal board into the reinforcement layer of ETICS).

  8. Push the soffit panel into the window connection profile weber.projekt Fensteranschlussprofil and press on.

  9. Connections to other components (e.g. to the bottom edge of the external venetian blind box) are closed with the assembly adhesive weber.projekt Montagekleber.

  10. Ready!

Videos

Fensterlaibung erstellen mit weber.projekt Leibungsplatten / Fertigleibungen

WDVS - Wie erfolgt der Anschluss der Fensterlaibung mit den weber.projekt Leibungsplatten?

Find all our products near you in more than 2000 outlets