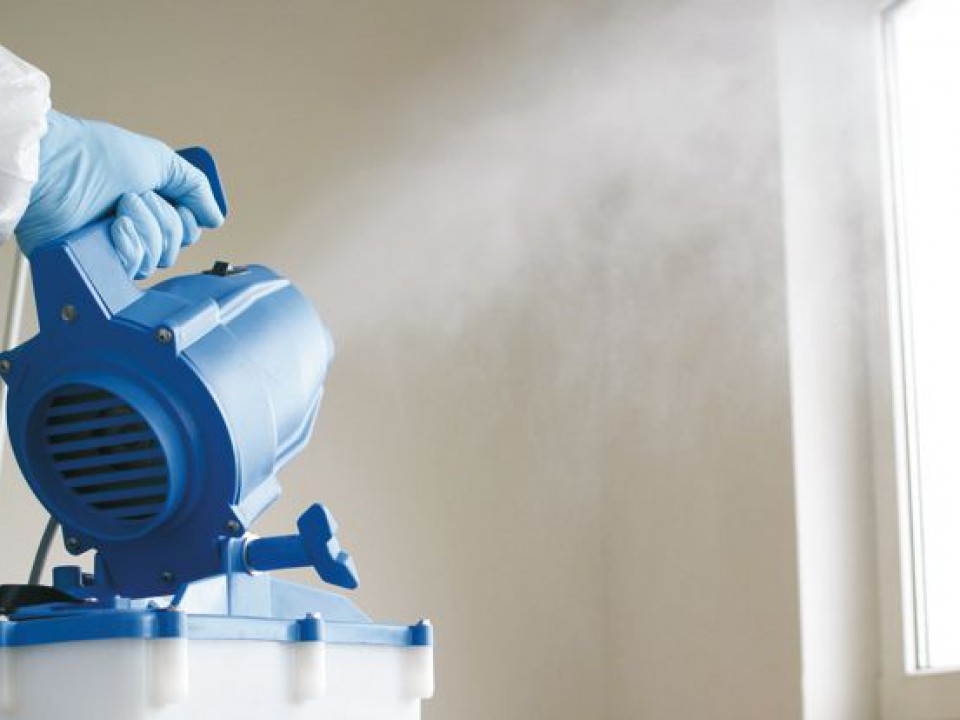
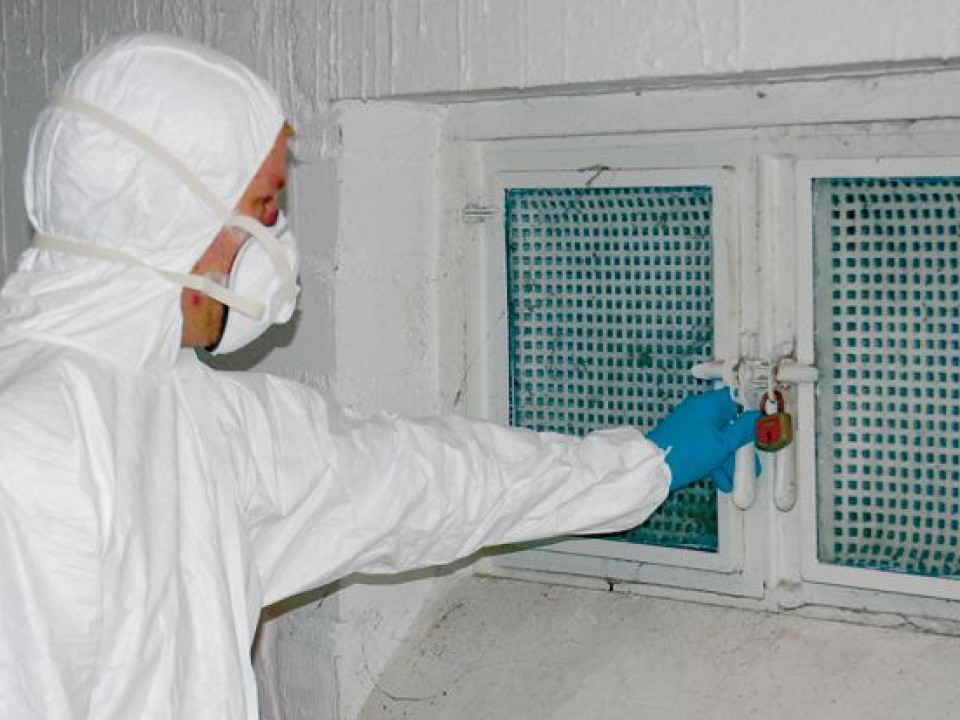
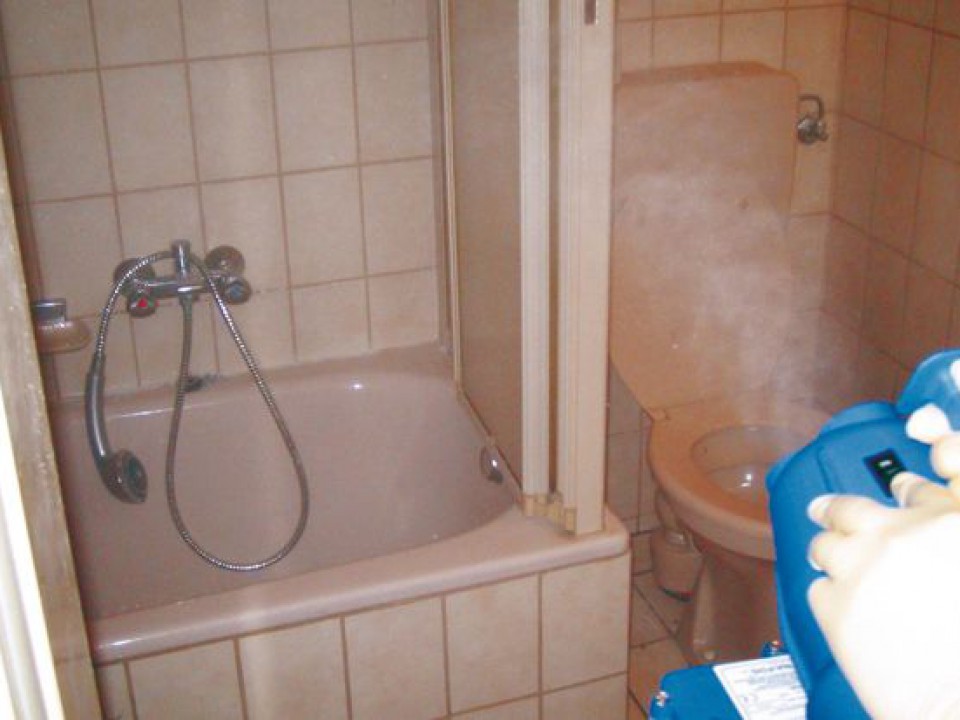
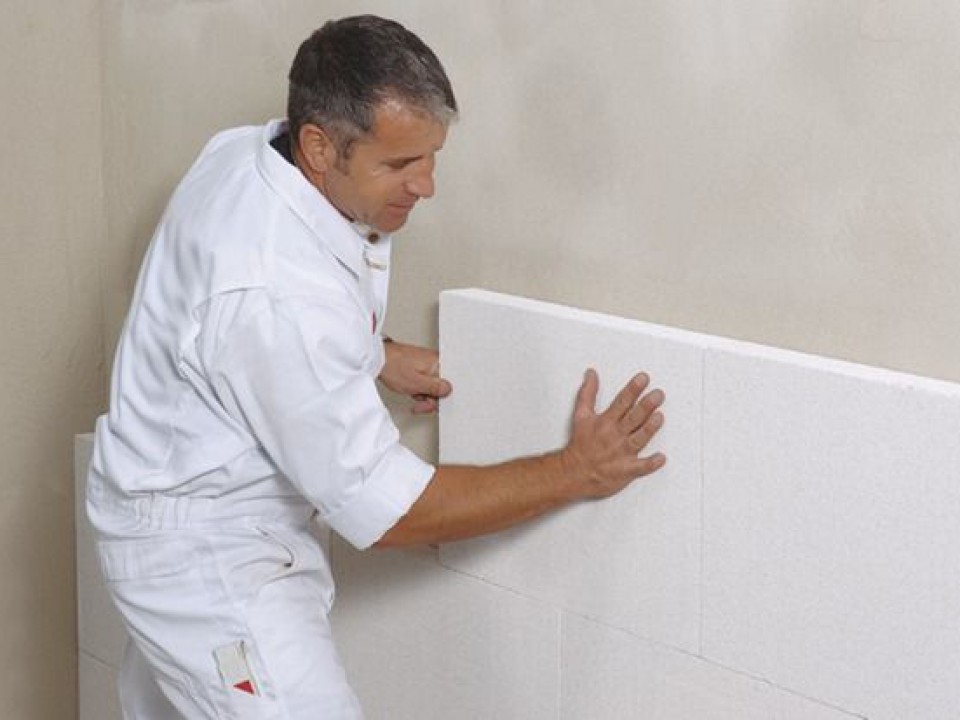
Professional mould treatment

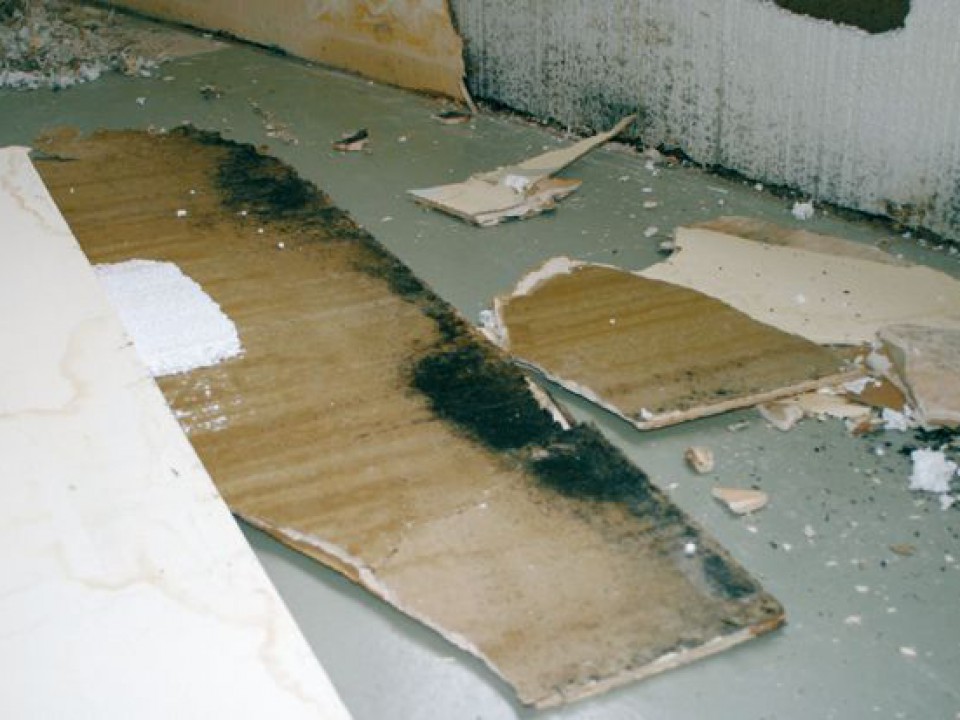
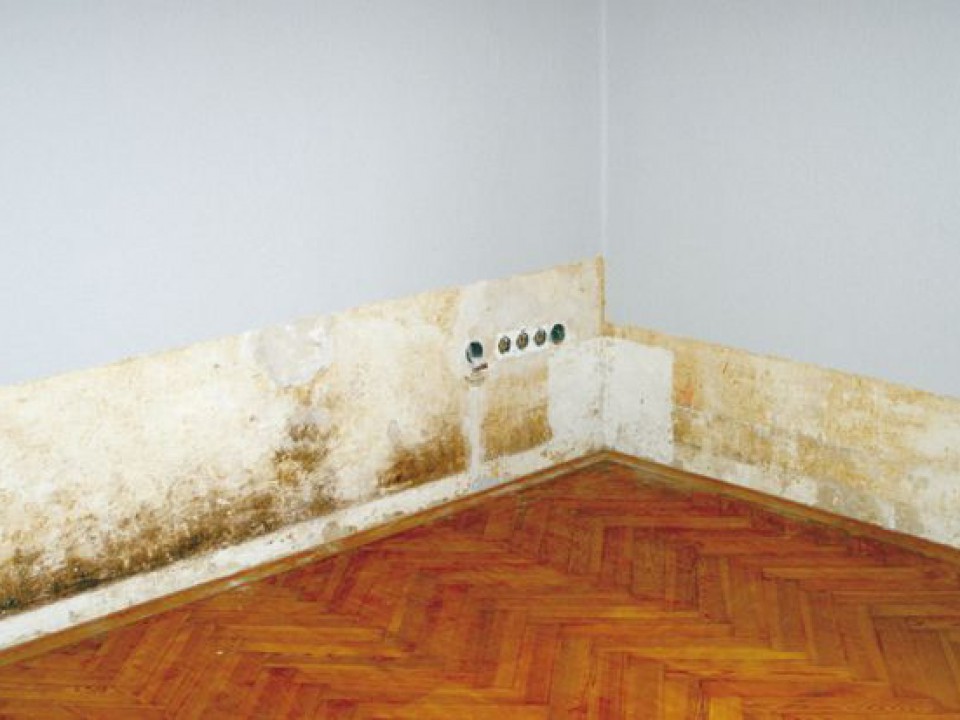
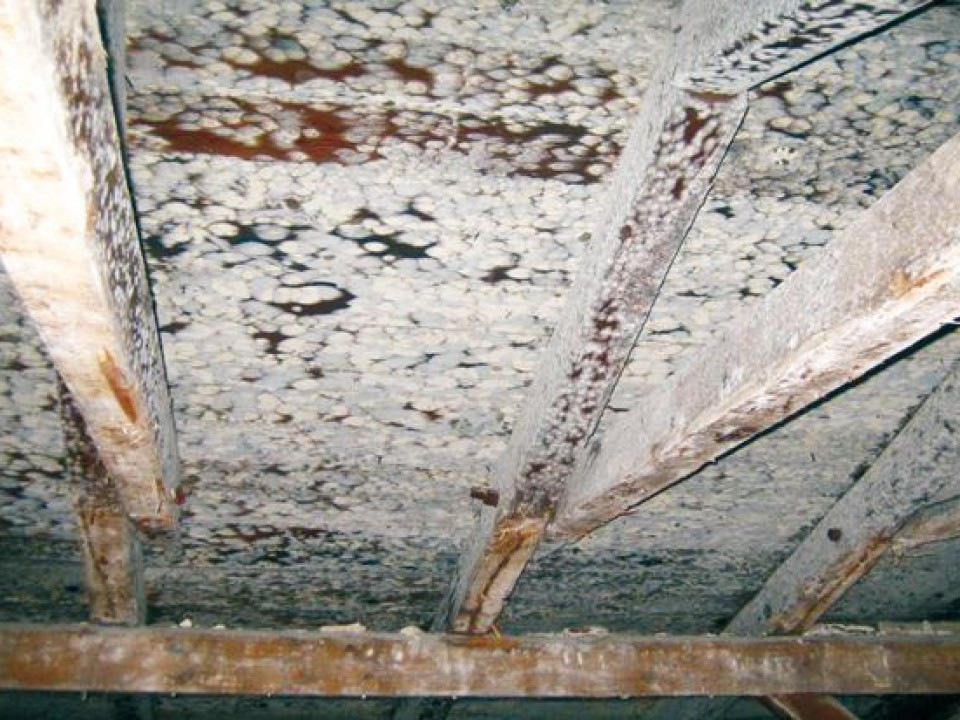
Mould is a natural part of our environment. However, it is taboo in indoor areas. Mildew is a growing problem; it indeed appears in relation to humidity due to defective buildings, lack of ventilation or changed use of the rooms. Also, wrongly installed building materials favour fungi growth. Mould decomposes organic building materials and impairs the drying and insulating properties of building materials. Furthermore, mould is a danger to human health. As a result, valuable living space is lost. Fungi growth must therefore be detected early and above all completely be eliminated. In addition, the cause must be totally eliminated to ensure sustainable remediation. In case of larger infestations (> 0.5 m²), the remediation measures must be carried out by professional applicators.

Simple & safe to the goal

  1. 1. The surfaces attacked with mould are treated with an appropriate mould killer. It is applied with a spray device at low pressure. After treatment, ventilate the rooms thoroughly. The fungus is killed within one hour.

  2. 2. After an appropriate waiting time (generally approx. 1 hour), the treated areas are cleaned mechanically with a brush or an appropriate trowel. The killed fungi must be completely forwarded away out of the room.

  3. 3. Cleaning of joints between ceramic tiles after their treatment with mould killer.

  4. 4. Gypsum paperboards must be completely removed after treatment. Often their backside is also attacked by mould.

  5. 5. Also paperboards must be completely removed after treatment. Their backside is often attacked by mildew.

  6. 6. Also insulation boards attacked by mould must be treated and completely removed.

  7. 7. Silicone joint sealants are maintenance joints and must be regularly checked. Loose parts must be replaced. Parts with good bonding and mould attack on their surface must be treated with mould killer.

  8. 8. Solid timber parts must not be removed since mould cannot attack them. Panel products from wood-based materials are often used for planking components and hanging from ceilings. These areas might reveal hidden mould.

  9. 9. View of solid timber planking on ceilings after treatment and cleaning.

  10. 10. Also timber parts with bad ventilation, for ex. backside of side-boards might be attacked by mould. Here too, it must be removed after treatment.t.

  11. 11. Spores are so-called surface colonizers. Renders with high alkalinity, for ex. lime or lime-cement renders impeed mould formation and are no convenient breeding ground. Healthy plasters with good bonding must not be removed. In general, the removal of mould from their surface is sufficient.

  12. 12. After elimination of the cause for fungi growth, thanks for ex. repair of old defective waterproofing, and after removal of mould we recommend a complete cleaning of all attacked areas with a Hepa vacuumer; the remaining thin dust of the mould spores are removed from all surfaces.

  13. 13. Afterwards, the treatment of the room can begin. Use an appropriate cleaner for spores. It is sprayed in thin particles with a so-called cold "fogger" spray device, which makes the spores swinging in the air inactive.

  14. 14. Prior to the application of mould killer, doors and windows must be tightly closed.

  15. 15. When spraying the cleaner for spores, follow the national rules. After the recommended waiting time, thorough ventilation has to be done. Then access to the rooms is possible.


  16. 16. Eventually carry out a clearance measurement of final spore content and start the re-building measures, for ex. the mineral and mould-inhibiting Weber internal insulation system.

Find all our products near you in more than 2000 outlets