Waterproofing of modern light well constructions
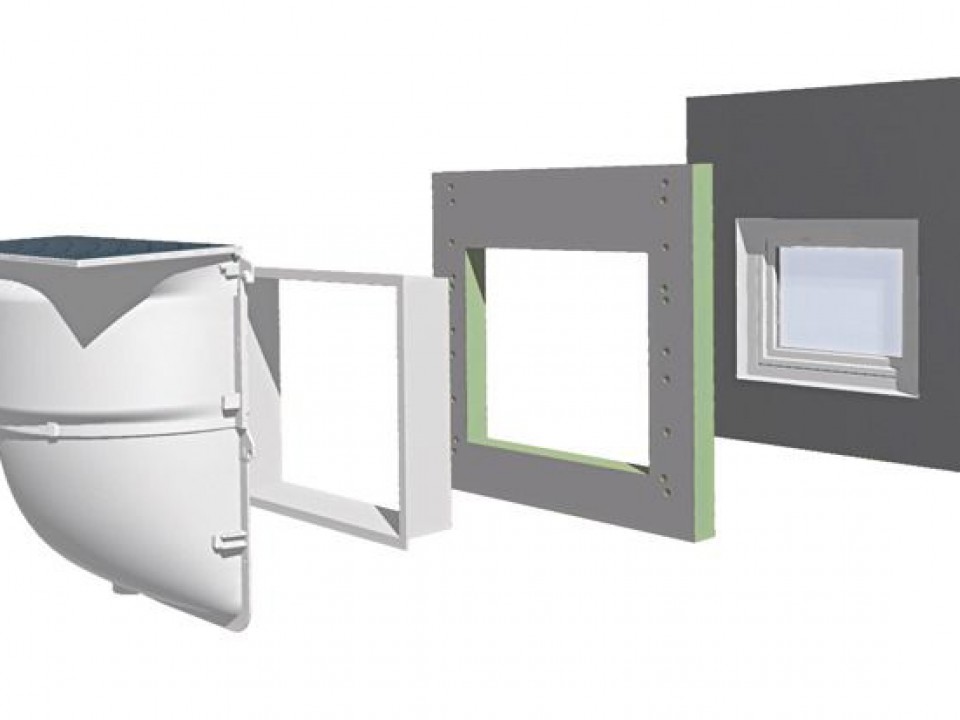
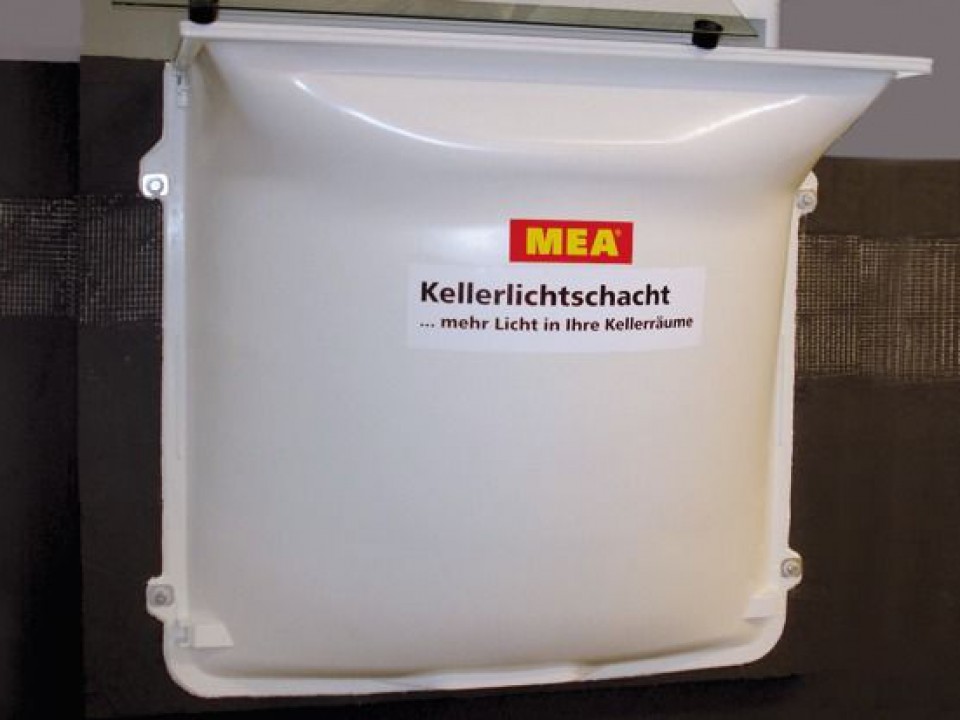
In the course of the ever-increasing demands on the thermal balance of buildings, comprehensive perimeter insulation has long played a major role. Here, it is important to avoid thermal bridges and to integrate the detail points into a modern basement waterproofing system. Until now, the thermal-bridge-free design of light wells was very complex. In the following, the innovative waterproofing solution of an insulated mounting panel with integrated light well fastening is described herebelow with the example of the company MEA Bausysteme GmbH. With the help of the 2-comp. reactive and quick-setting waterproofing coating weber.tec Superflex D 24, the basement light well module without thermal bridges is securely fixed and integrated into the wall waterproofing level on the main surfaces.
Simple & safe to the goal
-
2. After cleaning and preparation of substrate, first apply the primer for absorbent substrates weber.prim 900, diluted with water 1 : 1 in the fixing area of the board.
-
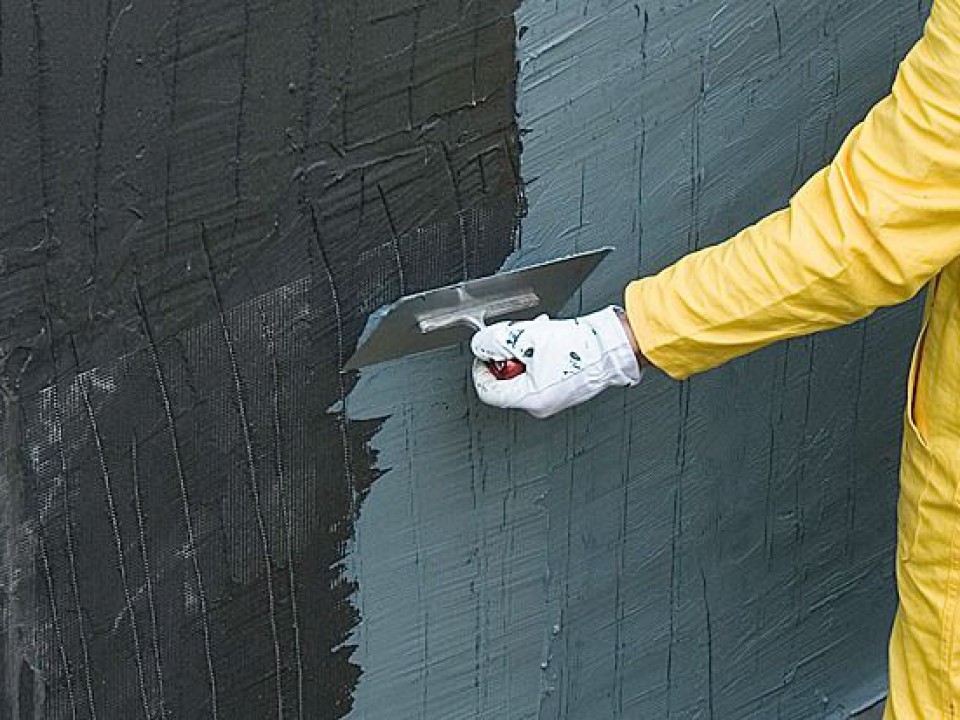
4. This is followed by application of a scratch layer and, after its drying, by application of the first waterproofing layer weber.tec Superflex D 24. In case of pressure water, the woven glass fiber mesh weber.sys 981 is embedded full-surface in the first layer.
-
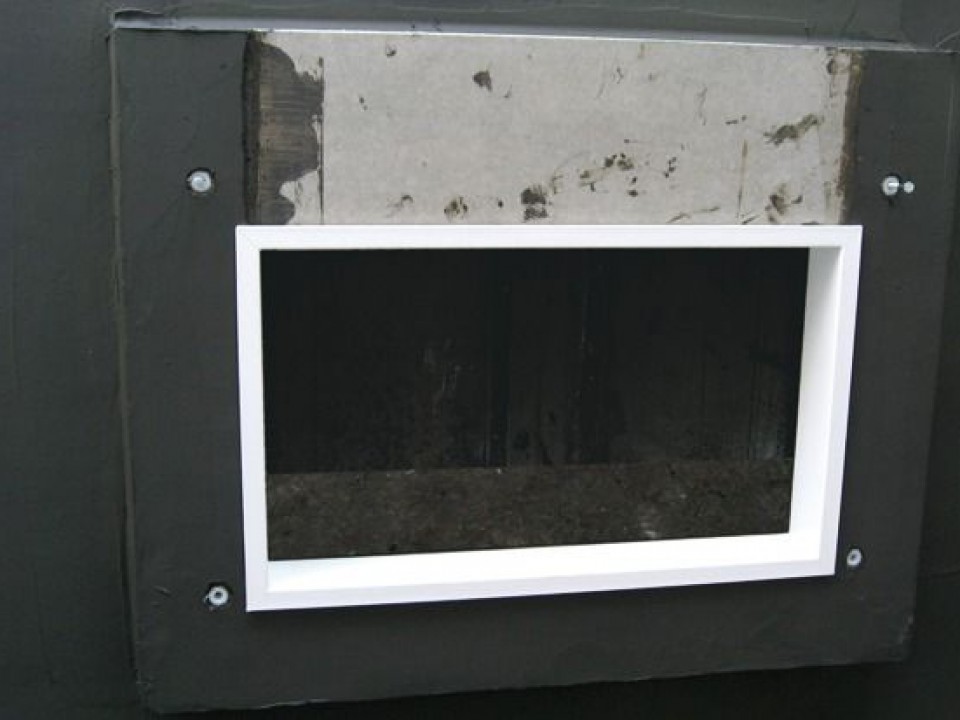
5. Apply a second waterproofing layer of weber.tec Superflex D 24. The surface waterproofing is carried out at least 20 cm beyond the leg lengths of the installation insulation board.
-
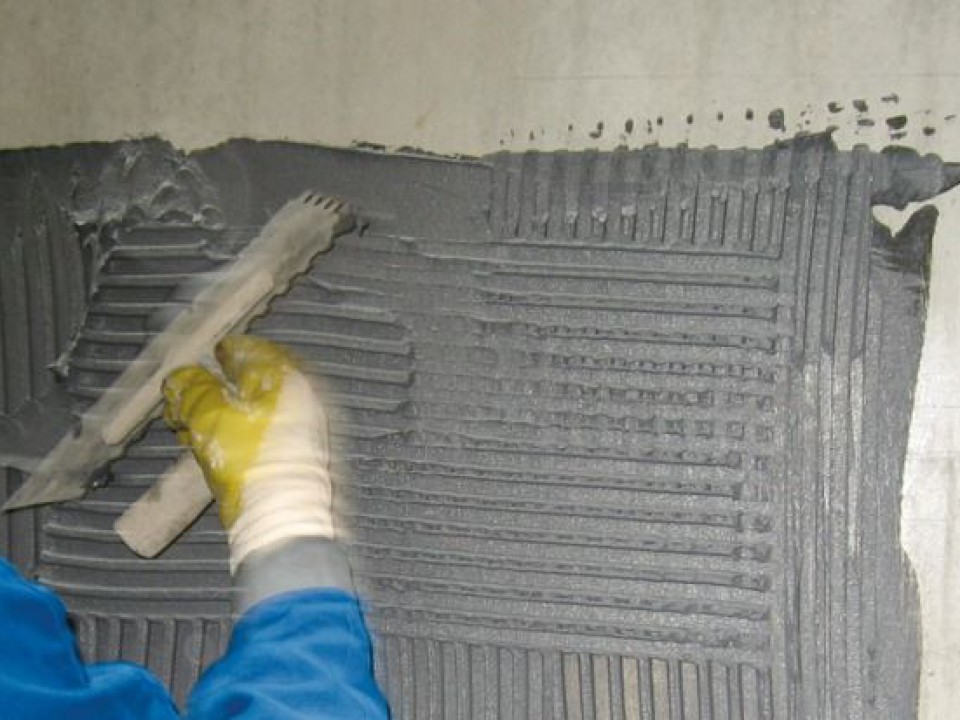
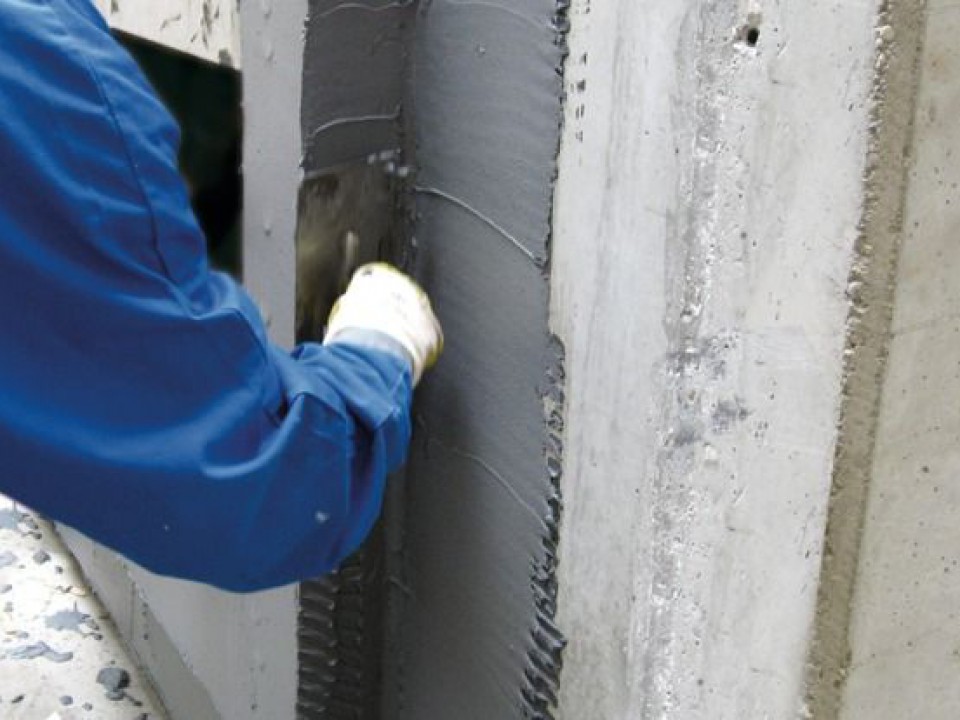
6. After the last waterproofing layer has dried, begin the work for bonding the board; for this purpose, use weber.tec Superflex D 24 as an adhesive on the substrate and also on the back side of the board (floating-buttering method), using a 10 mm notched trowel.
-
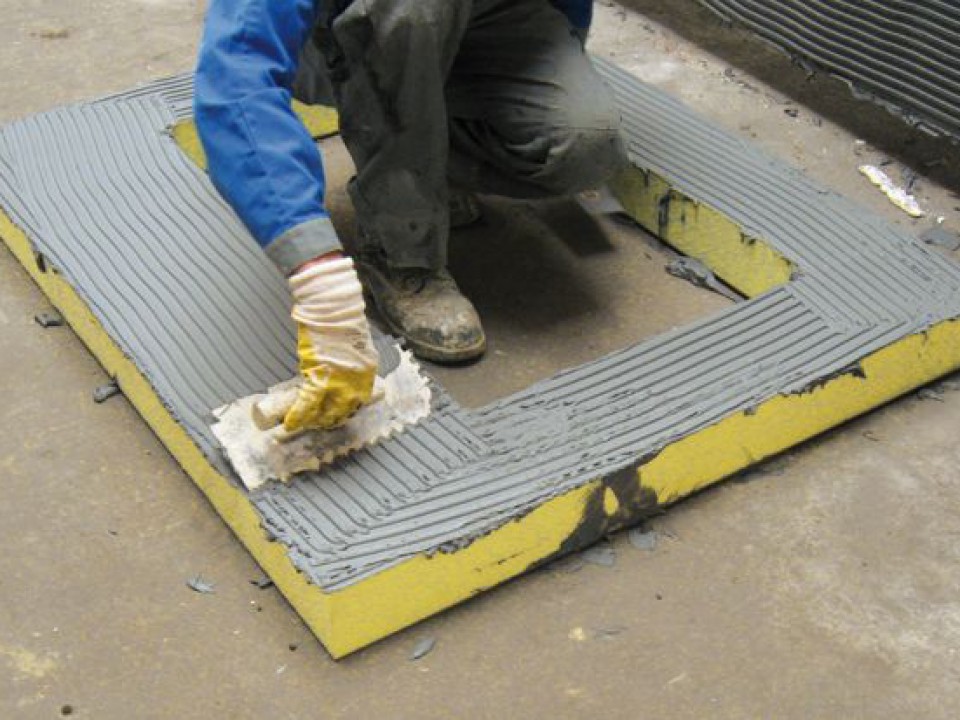
7. Application of weber.tec Superflex D 24 on the backside of the panel.
-
9. A small groove of weber.tec Superflex D 24 is formed all around the inner corners. The tooth webs are filled in at the same time with the same material.
-
11. The waterproofing of these details is done by embedding the woven glass fiber mesh weber.sys 981. It should overlap the wall waterproofing by at least 15 cm. The second layer is applied as early as possible, as soon as the first layer can no longer be damaged.


Necessary products for this solution


Find all our products near you in more than 2000 outlets