Repair of old bitumen waterproofing coatings
Whenever an old waterproofing is defective, it is usual to remove the old bitumen paint or coating. A time-and cost-consuming work. The patented Weber system "Renovation system for old waterproofing" makes these works unnecessary; the application of a reliable bonding layer on such substrates is a tailor-made solution and is proven in practice. This system saves time and costs.
Simple & safe to the goal
-
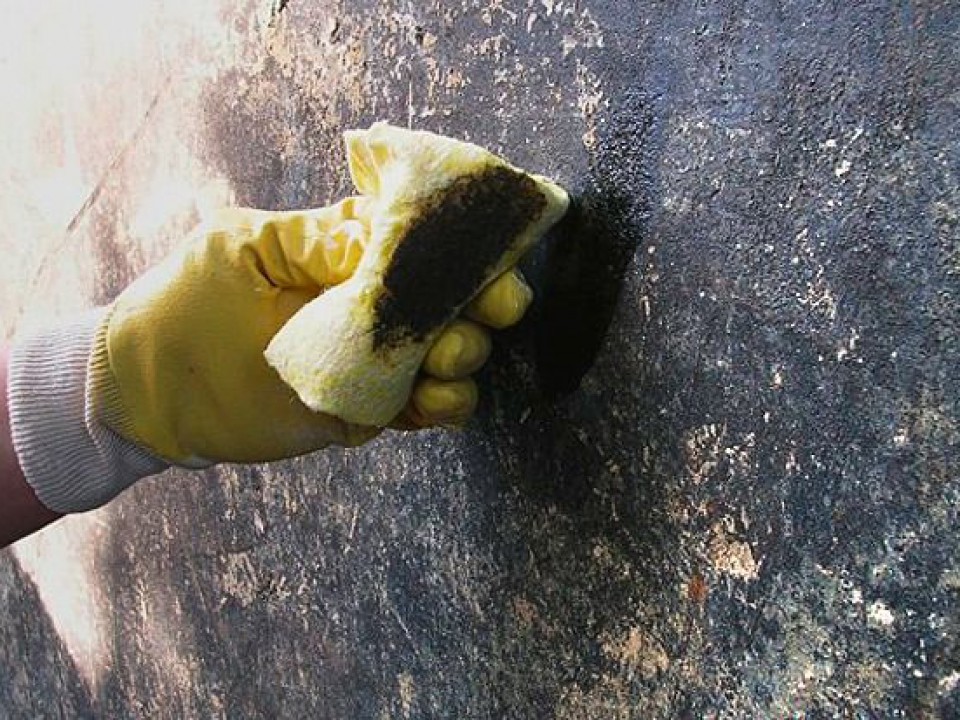
3. It must also be evaluated if the existing bitumen paint or coat has a sufficient bonding. If not, it must be removed. As a rule, the old bitumen in the groove area (angle between basement wall/ concrete slab) and on the socket part of facade (above ground level) must always be removed down to the sound substrate.
-
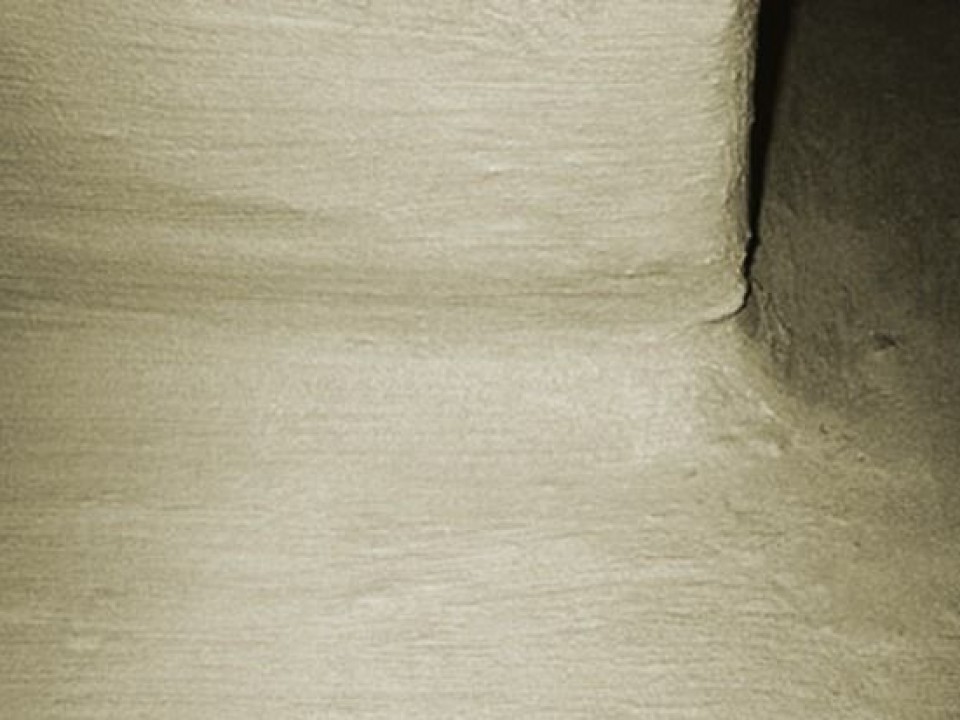
4. After substrate preparation, apply a bonding layer of the watertight mortar weber.tec 933 (brush consistency) in the groove area; then apply it as groove mortar (trowel consistency) along the angle with the preformed rounded trowel weber.sys Hohlkehlenschlitten on the fresh bondcoat. Afterwards, weber.tec 933 as patching mortar on the whole groove area, i.e. approx. 25 cm on both angle sides.
-
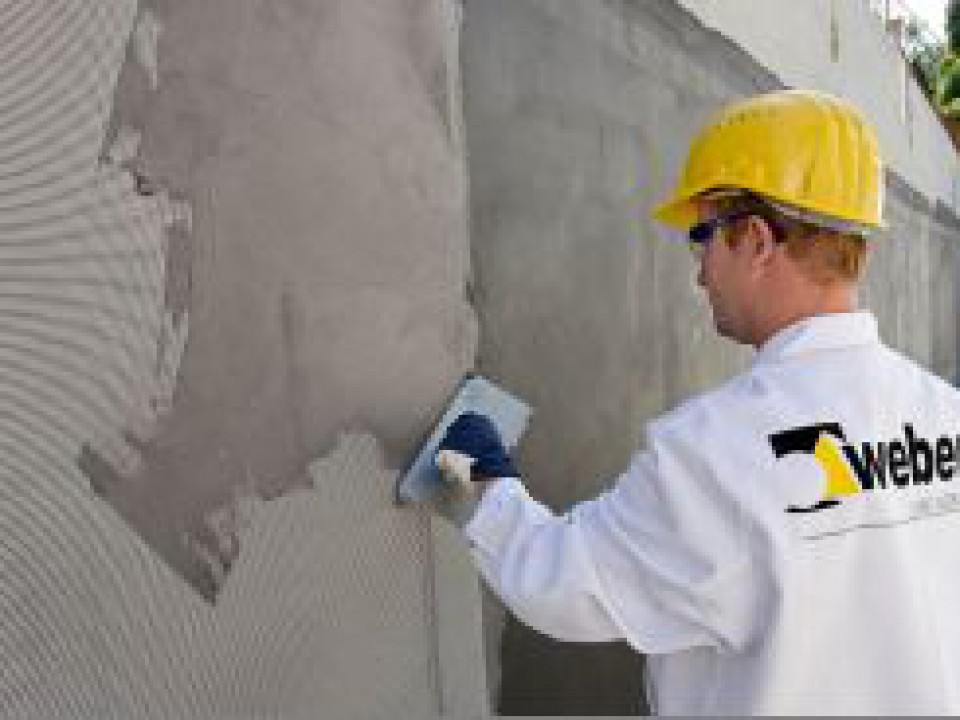
5. On the old and well-bonding bitumen paint or coating, apply a scratch layer of the 2-comp. reactive and quick-setting waterproofing coating weber.tec Superflex D 24. On other surfaces without bitumen (socket part) apply first the all-purpose primer weber.prim 900, mixed with water in a ratio of 1 : 1 part by volume.
-
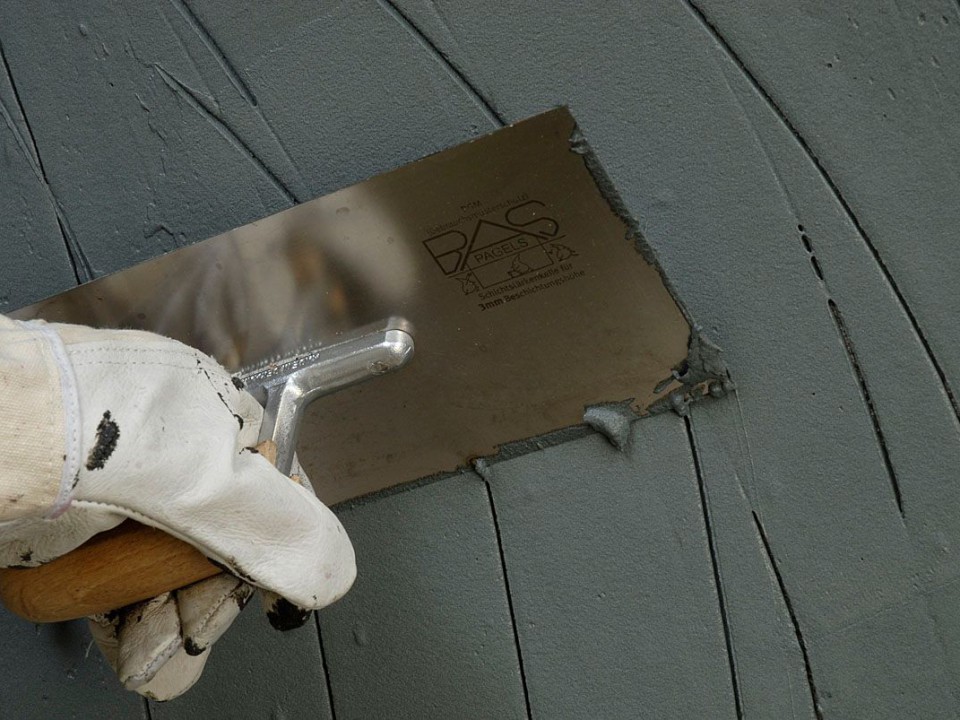
6. After full drying of the scratch layer, check its bonding via scratch test, before waterproofing works with weber.tec Superflex 10 or D 24 begin.
-
8. Lay the woven glass fiber mesh weber.sys 981 full-surface onto the fresh first layer.


Find all our products near you in more than 2000 outlets