Basement waterproofing with cold-applied and self-bonding bitumen membranes
Cold- and self-bonding bitumen membranes fulfill the standards for the water impact classes W1-E "ground damp" and "non-pressure water" (DIN 18533). They are mainly used for the waterproofing of new buildings and in particular concrete foundation slabs. Herebelow are the working steps for the cold- and self-bonding bitumen membrane weber.tec 913 are described.
Simple & safe to the goal
-
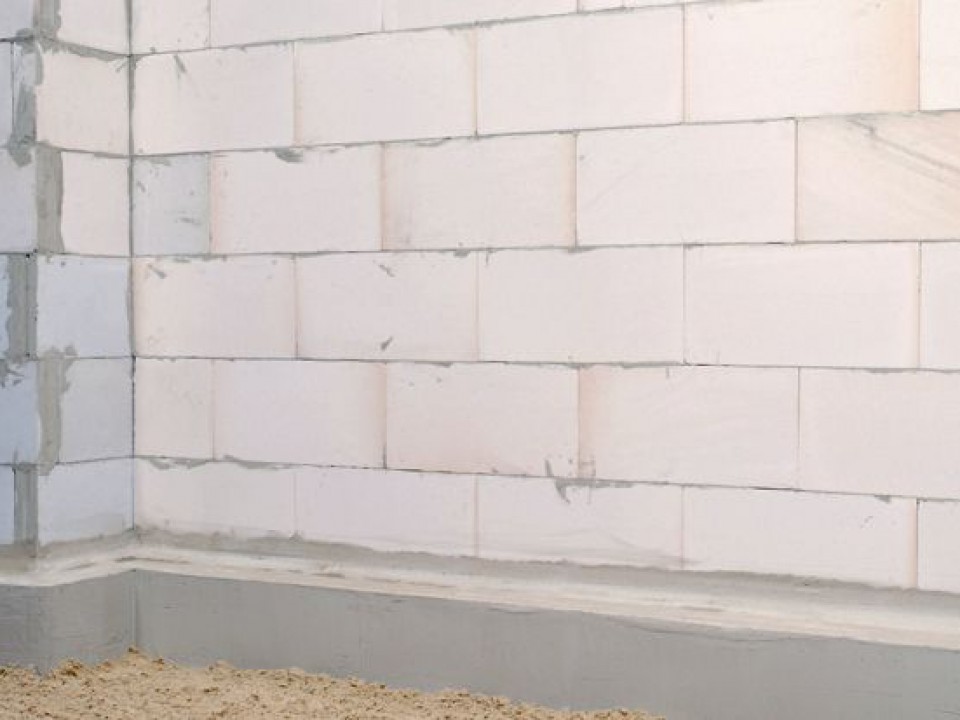
2. Horizontal and vertical inner angles must be rounded in groove form with the watertight mortar weber.tec 933.
-
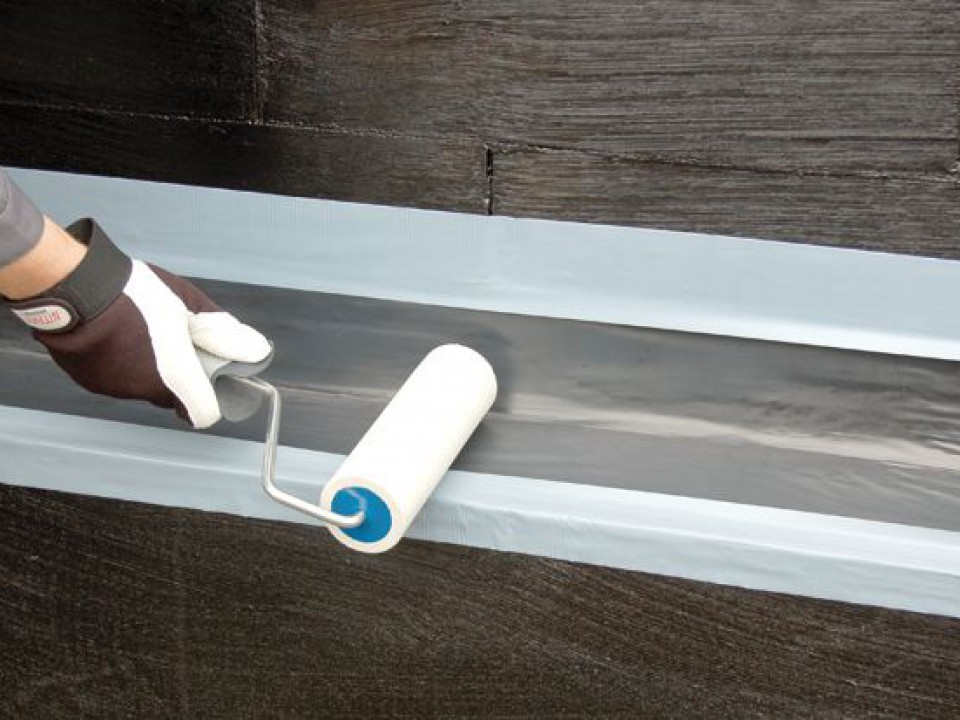
3. Apply the bitumen-based primer weber.tec 913 VE in case of a temperature range from -5 °C up to +5 °C. Above +5 °C use the bitumen-based primer weber.tec 902.
-
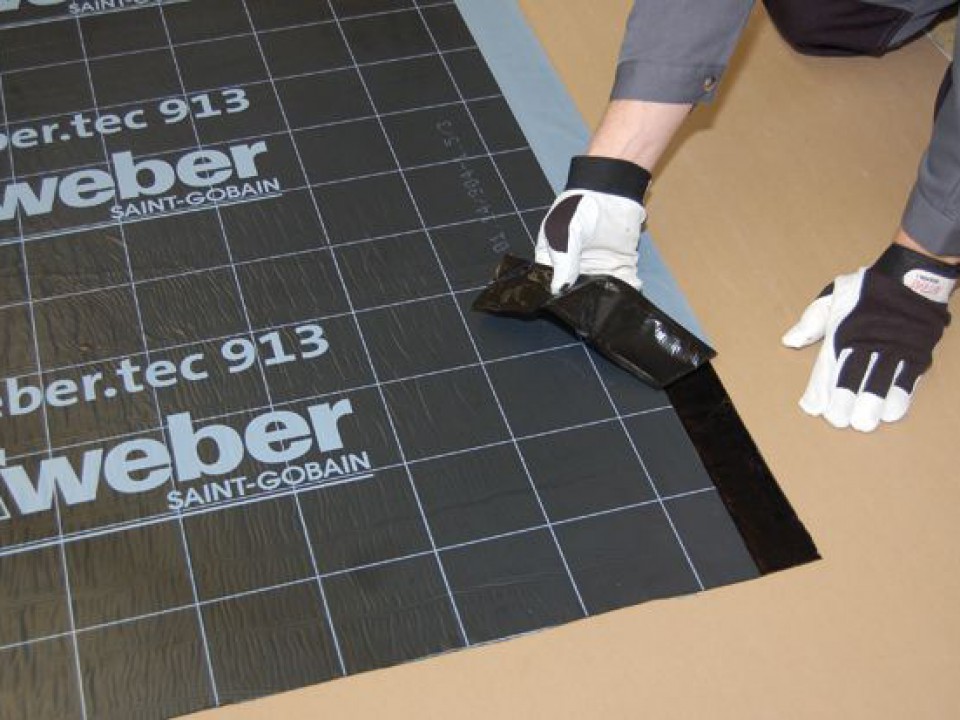
4. Inner angles: cut a piece out from the membrane weber.tec 913 (delivered in a roll) in the right size and glue it.
-
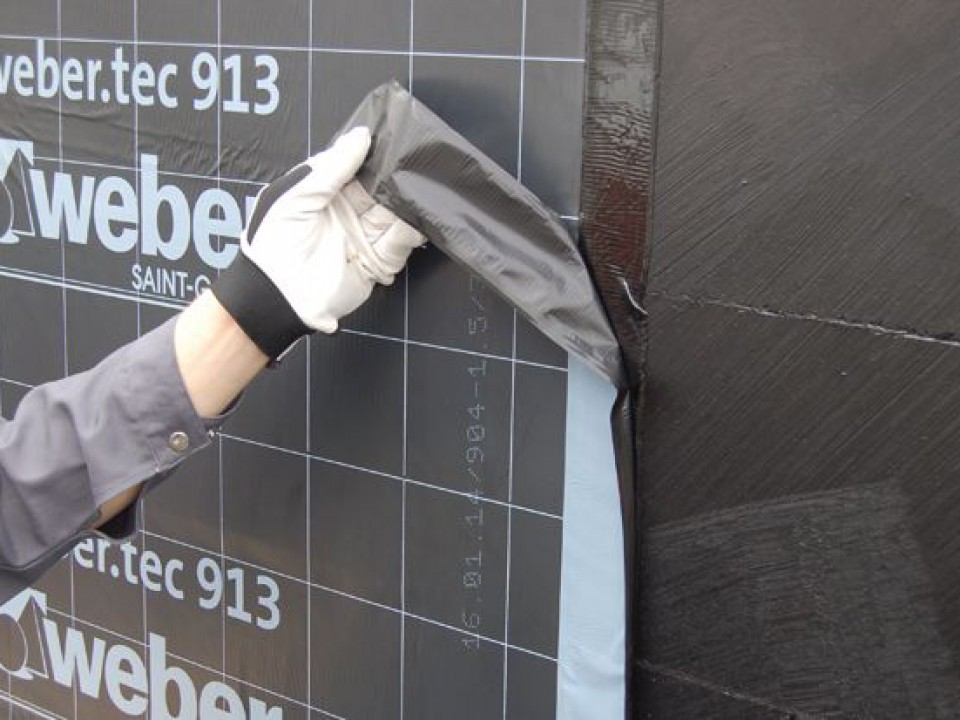
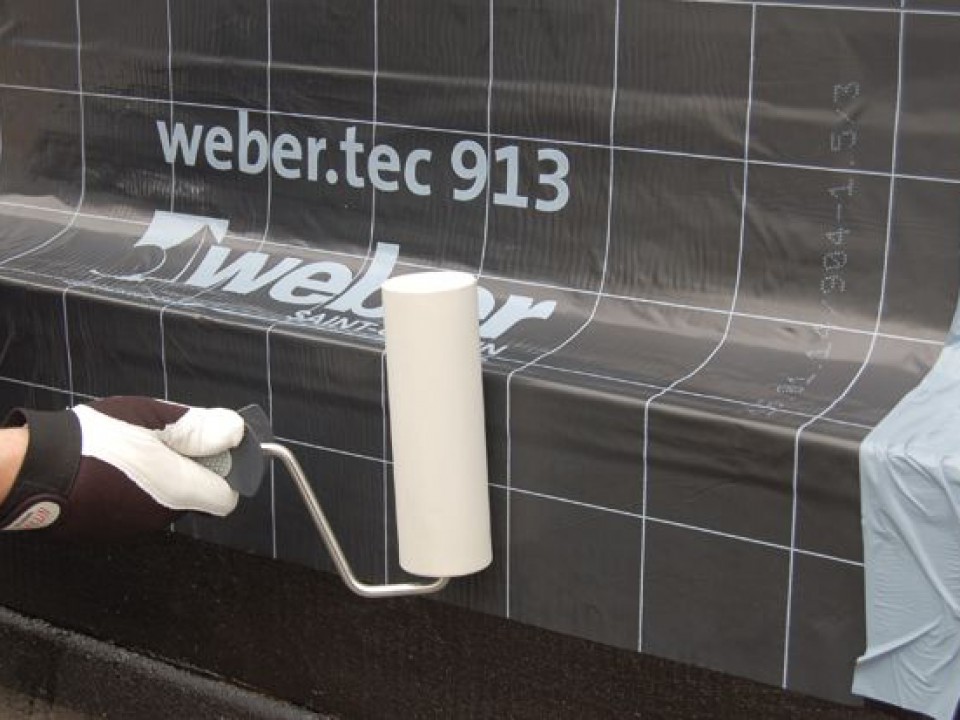
7. For a full bonding with the substrate glue the membrane weber.tec 913 on the whole wall surface by pressing with a roller, in particular in areas with joints and connections.
-
10. Movement joints: for waterproofing, use the joint sealing tape with end T-piece weber.tec Superflex B 240 E, which is glued with the 2-comp. reactive waterproofing slurry weber.tec Superflex D 2 and covered with the same material on its both sides.
-
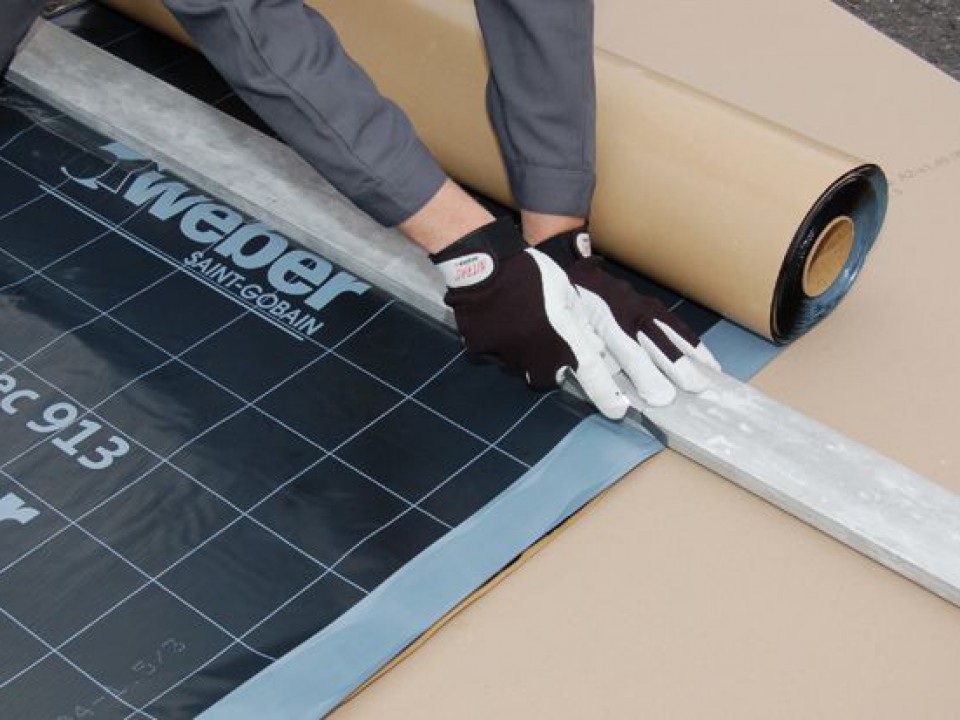
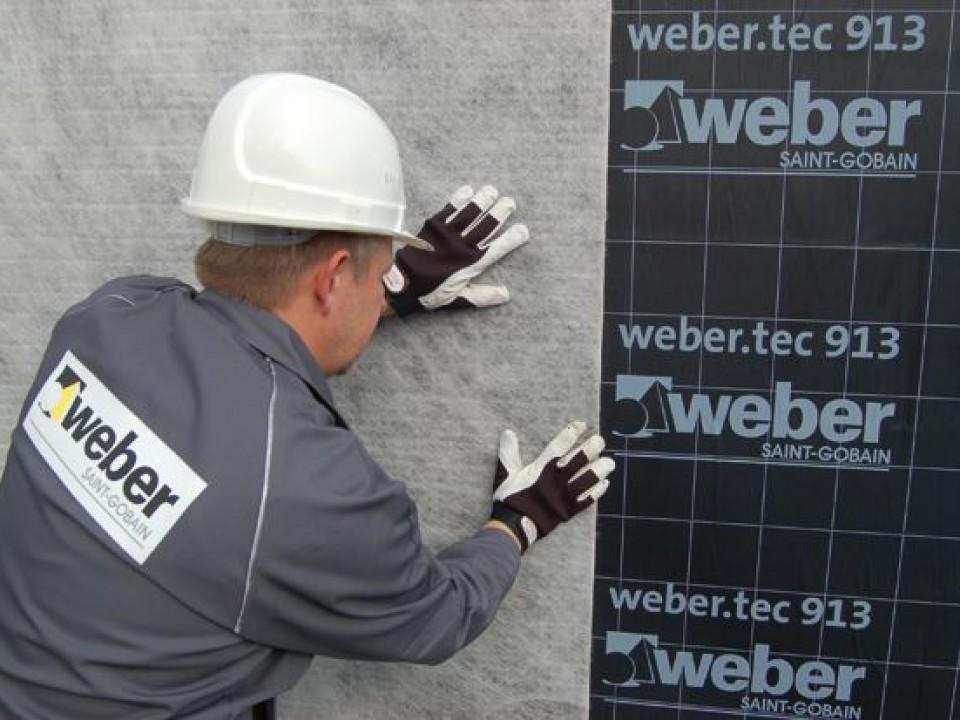
11. Main surfaces: roll out weber.tec 913 and cut in the required length.
-
16. Use the drainage and protection foil weber.sys 983. Fix it with the metal rail weber sys 983 A at the membrane upper part.


Find all our products near you in more than 2000 outlets