Professional application of external basement waterproofing
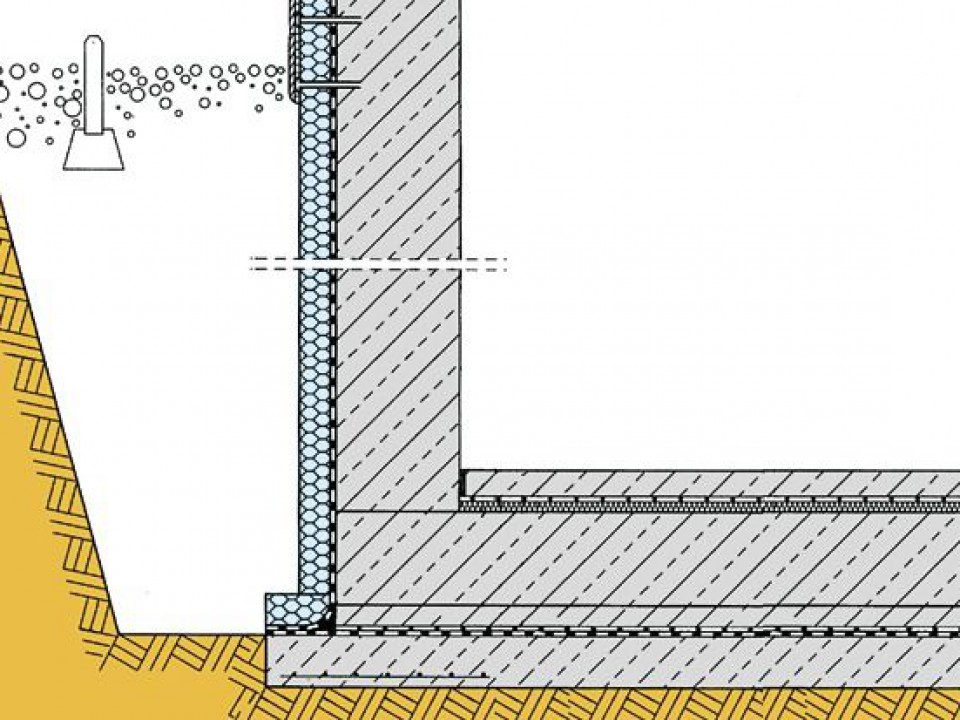
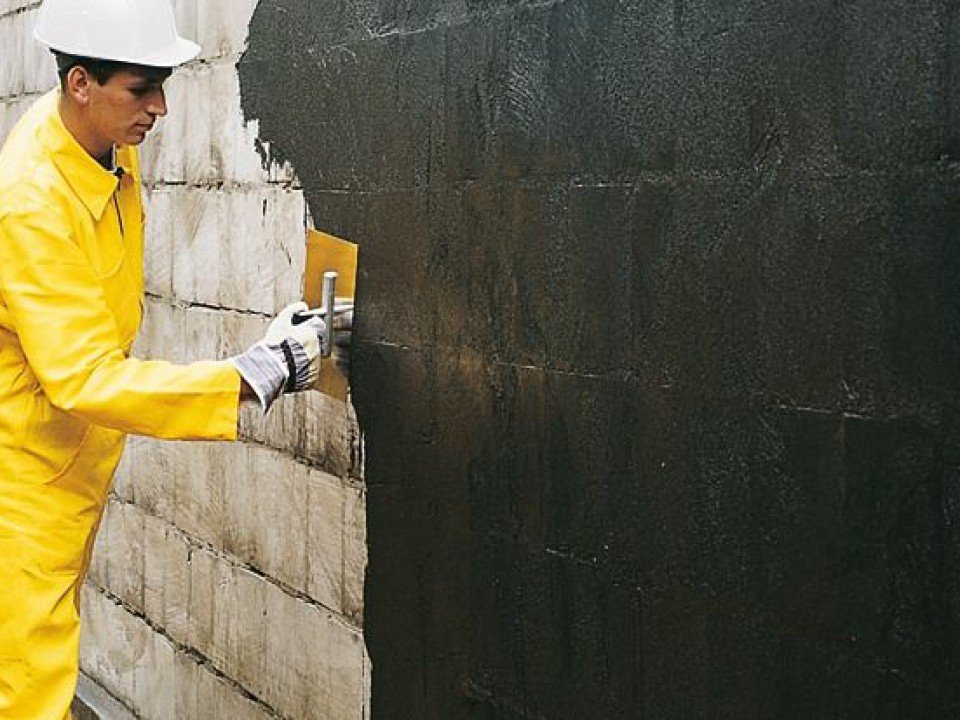
After planning (evaluation of water load, evaluation of details, etc.) the waterproofing works can begin. For this purpose, mainly polymer-modified bitumen thick coatings (PMBC) are used. This type of material has proven to be efficient in practice for the last 40 years. Their main advantages: crack-bridging and resistance to pressure water, i.e. high reliability, trowel-grade and non-sag consistency, jointless and seamless cold-applied membrane in one body, for walls and floors, without preliminary render layer, suitable on slightly damp surfaces, easy and practice-oriented execution of all critical points. The waterproofing must be carried out in a trough-shape with the goal to protect all parts of the building below ground level (concrete foundation slab and walls) from water ingress.
Simple & safe to the goal
-
2. The external groove area (angle basement wall/concrete slab) is cleaned and moistened (dull-moist) before a bonding layer of weber.tec 933 (brush consistency) is applied.
-
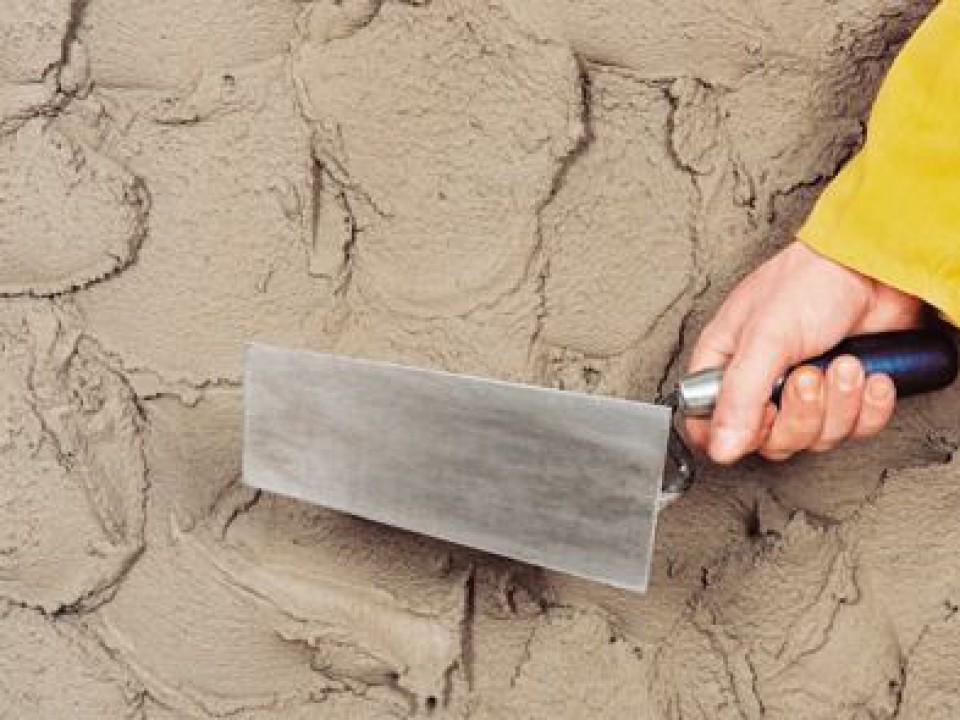
3. Without delay apply the quick-setting and watertight mortar weber.tec 933 as groove mortar (trowel consistency) "wet-in-wet" on the bonding layer with the preformed rounded trowel weber.sys Hohlkehlenschlitten. This eliminates a 90° inner corner and ensures a uniform layer thickness for the post-applied waterproofing product.
-
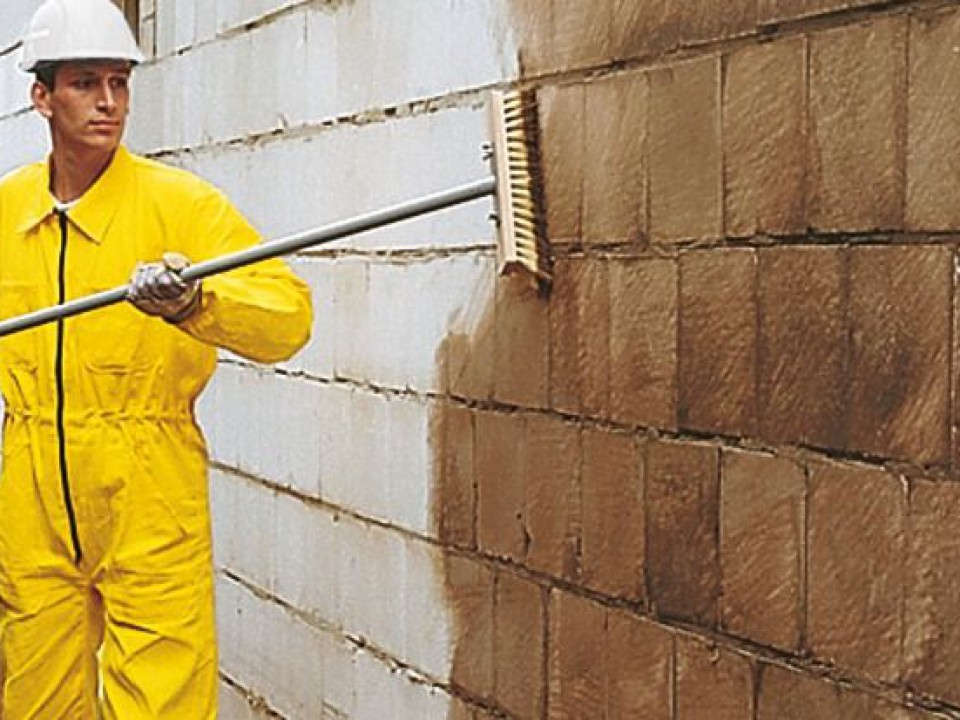
4. Use the bitumen primer weber.tec 901, diluted with water in a ratio of 1 : 10 parts by volume for obtaining a dust-binding effect and a uniform substrate porosity.
-
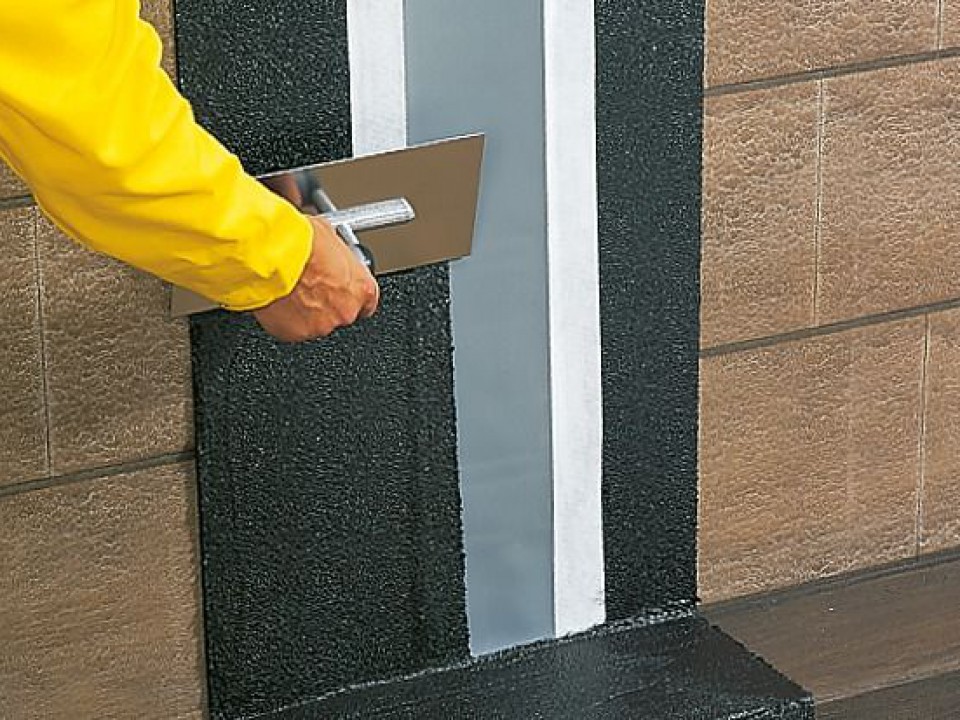
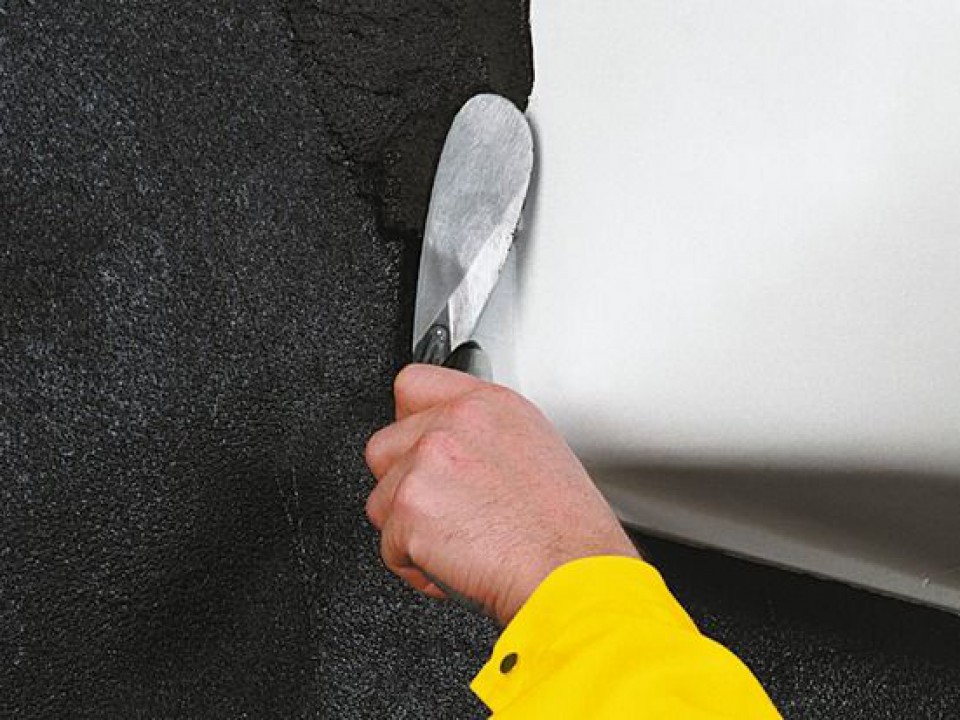
5. Separation joints between buildings are waterproofed with the joint sealing tape with end T-piece weber.tec Superflex B 240 E. Its fleece-backed sides are bonded on both joint sides and covered with the same bitumen material used for the waterproofing of main surfaces.
-
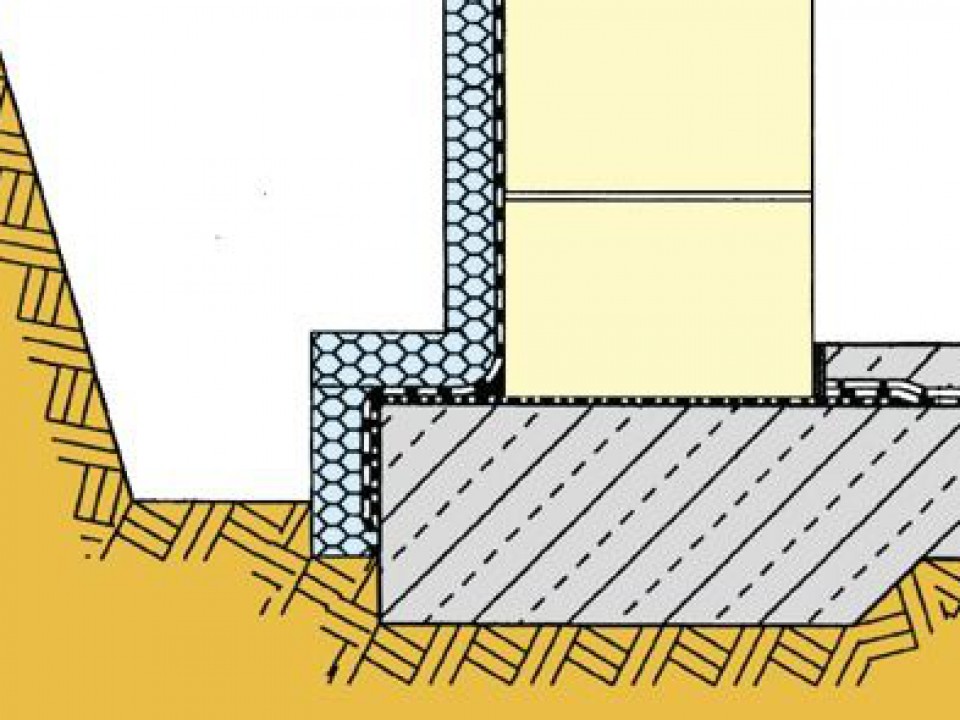
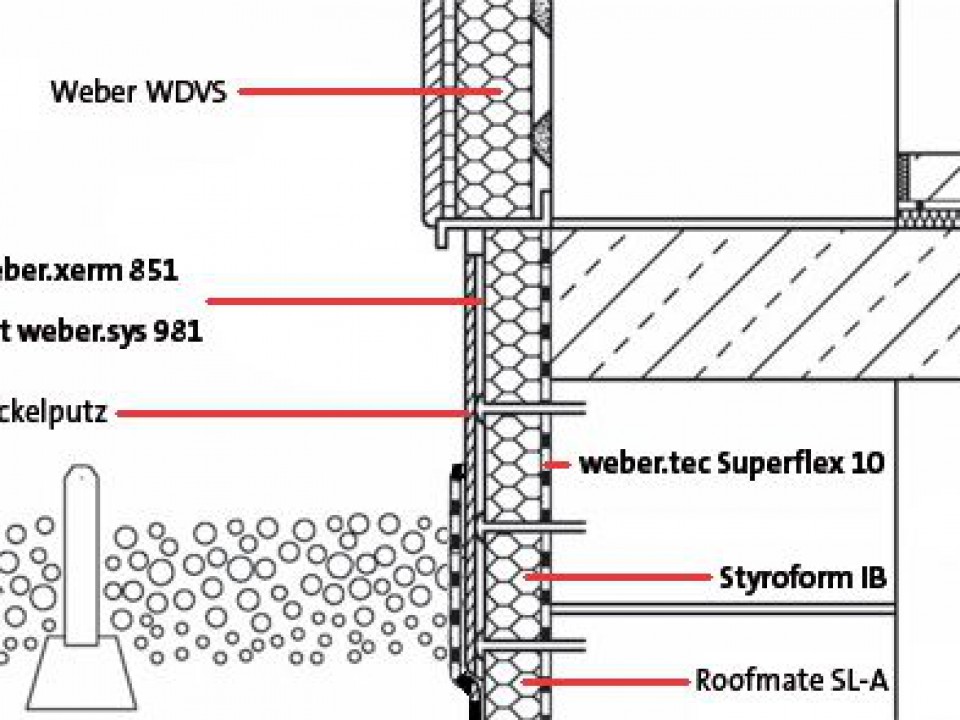
10. If a specific socket render is planned on the socket part of facades, apply weber.tec Superflex D 2 or D 24 (reactive waterproofing coatings) till to approx. 20 cm under the final earth level. The bitumen layer (used for basement walls) will overlap the socket waterproofing (D 2 or D 24) till to the upper earth level. Above the earth level apply the stipple coat weber.san 951 S full-surface onto the D 2 or D 24layer.
-
11. After drying of the stipple coat apply the waterproof render weber.tec 934 in a thickness of 15 mm, rule level and after initial setting smooth it.
-
12. After drying of the primer weber.tec 901, first apply a scratch layer of weber.tec Superflex 10.
-
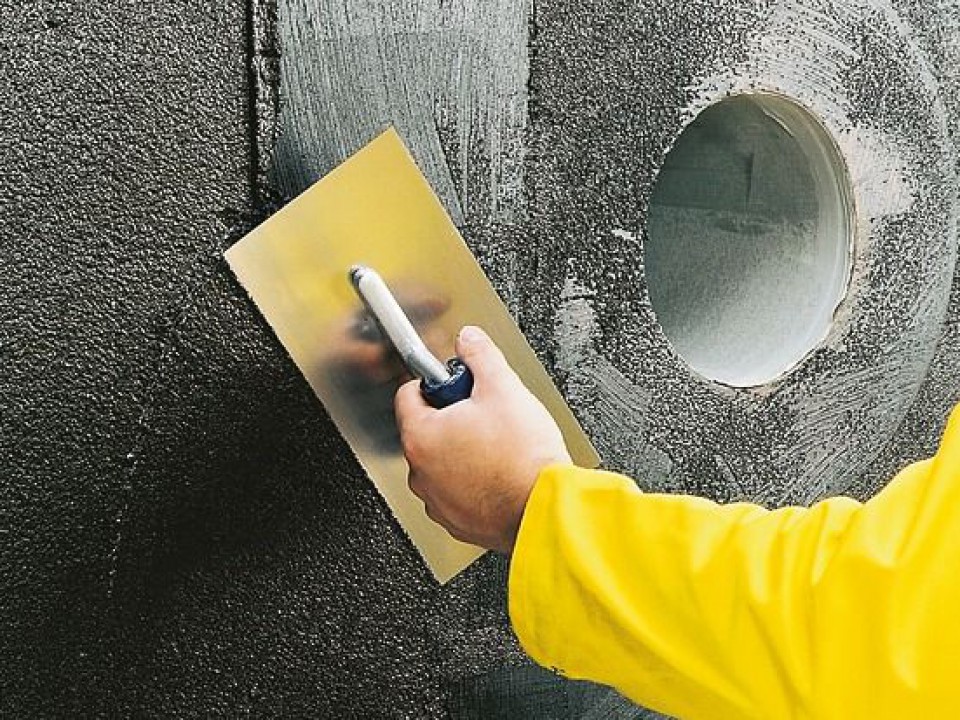
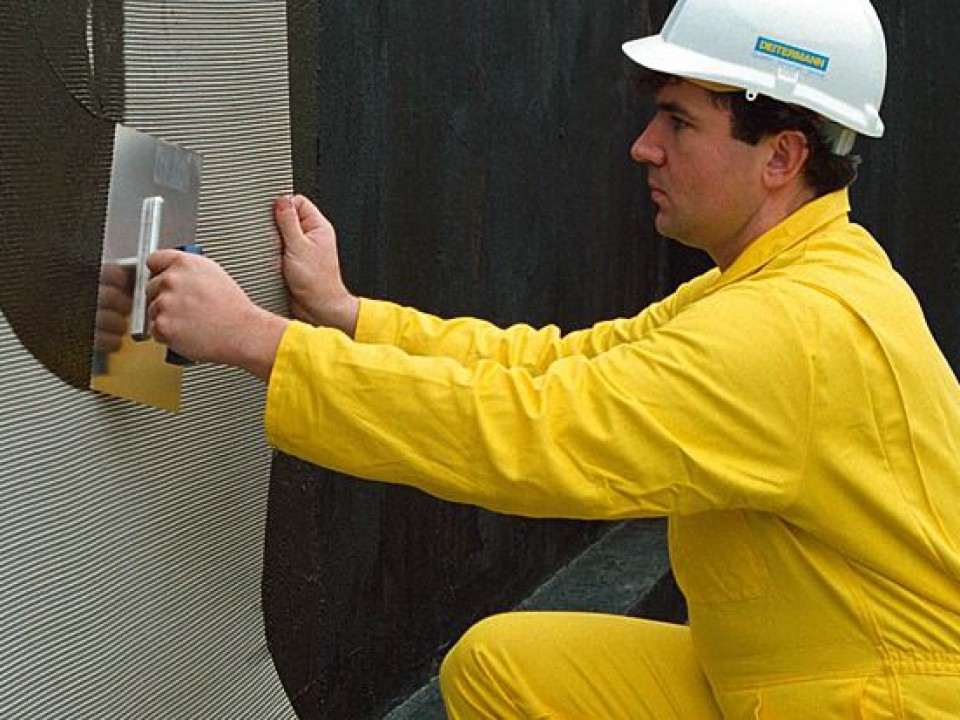
13. Apply a first coat of weber.tec Superflex 10 (2-comp. lightweight bitumen waterproofing thick coating) with the special notched trowel weber.sys Schichtdickenkelle which allows the same layer thickness whatever the hand angle is. The layer thickness depends upon the water load. In case of pressure water insert the woven glass fiber mesh weber.sys 981 "wet-in-wet".
-
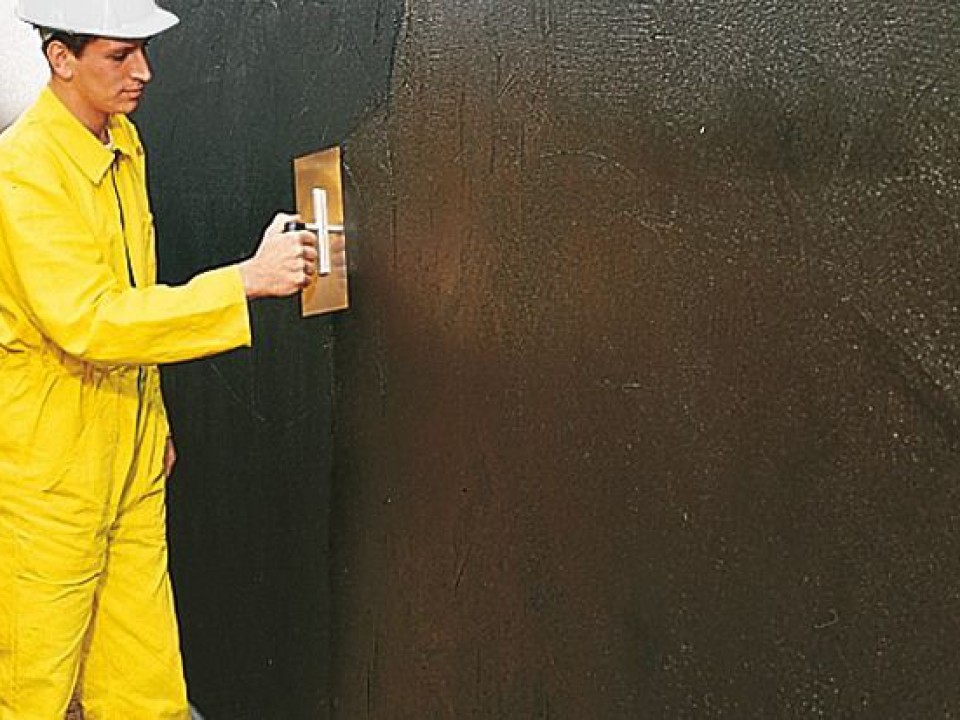
14. Apply a second layer of weber.tec Superflex 10 as soon as the first one cannot be damaged. In case of ground damp/non-pressure water, both layers can be applied "wet-in-wet".
-
17. Only after full drying of waterproofing, the insulation boards or drainage/protection foils can be installed. Thus, damages due to the earth-filling of excavation will be avoided. For checking the final state of drying, make a test on a stone sample placed in the building site at the beginning of waterproofing works.
-
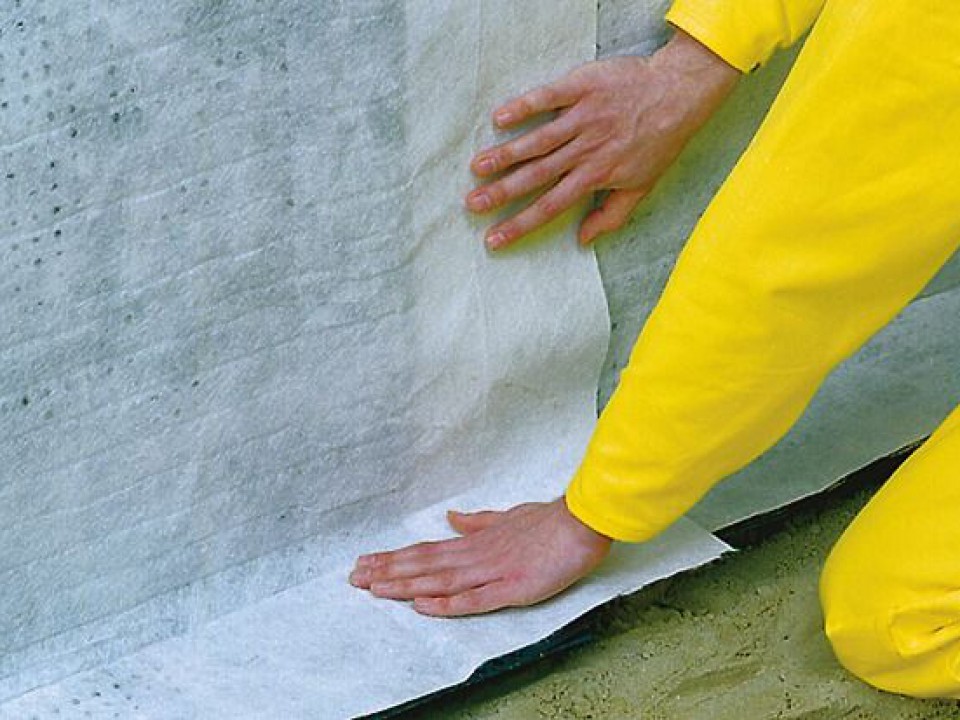
18. After full drying of waterproofing, install the drainage and protection foil weber.sys 983 on the wall and fix it with the metal rail weber.sys 983 A at the upper side of the bitumen layers. At the wall bottom the foil is connected with the circular drainage. Afterwards, it is allowed to backfill the excavation.


Necessary products for this solution


Find all our products near you in more than 2000 outlets